
These instructions were written based on iOS 10.3.1 (14E304) on an iPhone. Some steps may differ if you are using a different version of iOS or are performing these steps on an iPad.
On the home screen of your iOS device locate and open the Settings app.

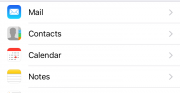
Scroll to and select Calendar from the list.
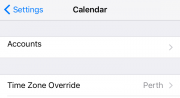
Select Accounts.
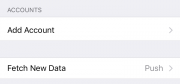
Select Add Account.
Select Other from the account type list.

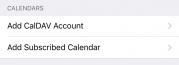
Select Add CalDAV Account.
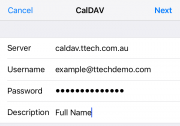
Enter the Server name caldav.ttech.com.au and populate the Username, Password and Description with your details (your username is your email address). Then tap Next.
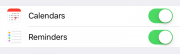
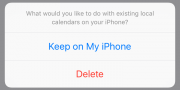
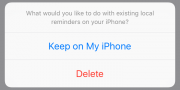
Enable both Calendars and Reminders. You will get a popup when you enable each of the options, select Keep on my iPhone unless you want to delete all of your existing calendars or reminders on the device. Then tap Save.
Once your account has been added you can now return to the Home screen and load the Calendar app.
Optional: If you want to set your CalDAV calendar to be the default calendar, before you return to the Home screen tap Calendar in the top right of the screen on the Accounts page. Then tap on Default Calendar and select your newly added CalDAV calendar.